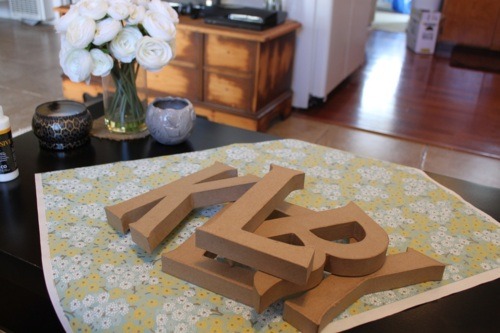
I feel like this little blog of mine has been suffering a little bit ever since i opened up my etsy shop and photography business. So much of my "free" time is spent making dream catchers or editing photos that I haven't had any time for DIY projects. Which is part of the reason I started this blog ! So I will certainly be bringing more crafts and recipes back to the blog ! But for now here is an old DIY I made for Kyler's room before I had him. This was posted to my old tumblr account and seems to get pinned a lot so i thought I would share it on here to !
You will need -
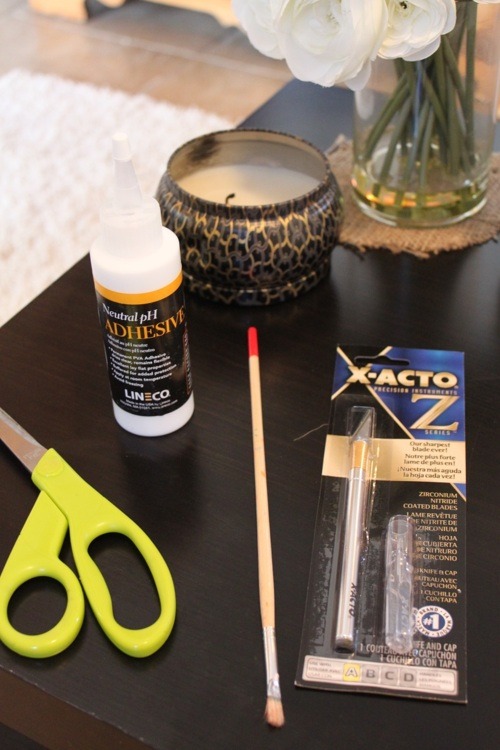
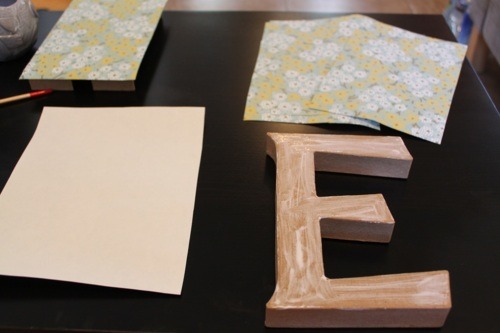
Letters (any kind or size works, i just used the ones they sell at paper source for $3.95 a letter), Scrapbook paper, Scissors, x-acto knife, modge podge (i used Lineco neutral ph adhesive -also from the paper source) and a paint brush for spreading the glue.
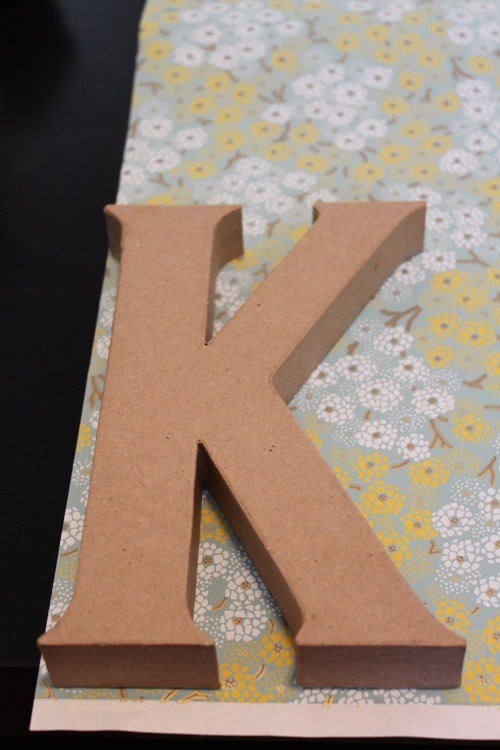
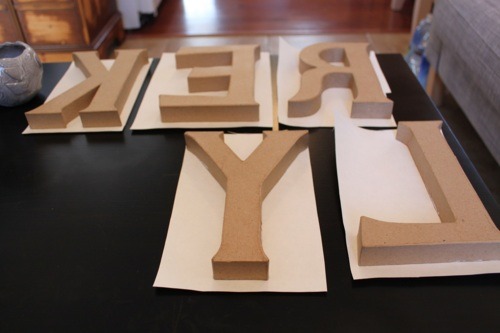
First you want to line your letters up on the paper and cut them out in squares
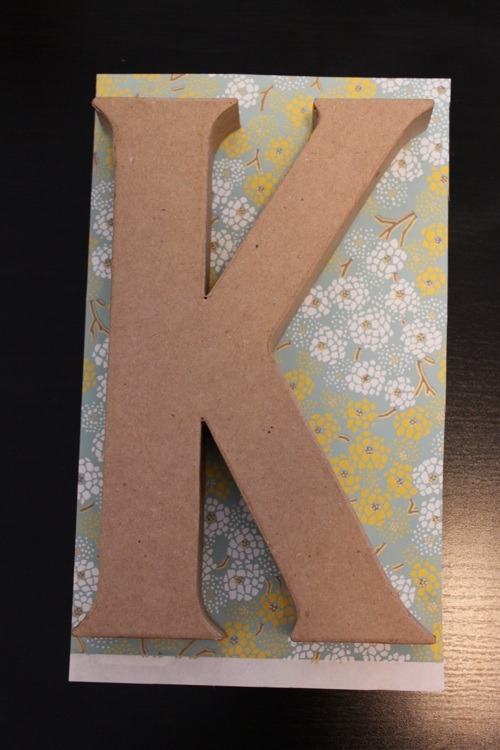
Than you want to flip your scrapbook paper over so your placing the glue side down on the blank side and you want to spread the adhesive all around the letter getting close to the edges
Flip the letter onto the paper and smooth the paper over the letter so it sticks really well , than let all your letters dry for about 5 minutes.
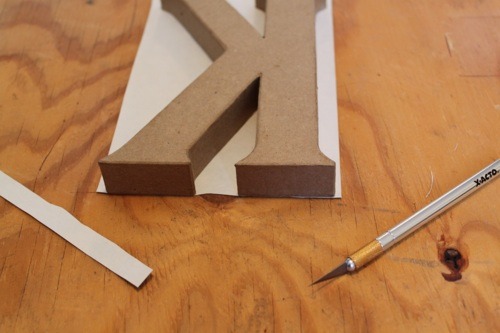
Once they are dry take your x-acto knife and a cutting pad (if you dont have a cutting pad like me just use a piece of wood that you dont mine cutting on) and cut around the edges of your letters.
And thats all ! It should look like this when your done ...
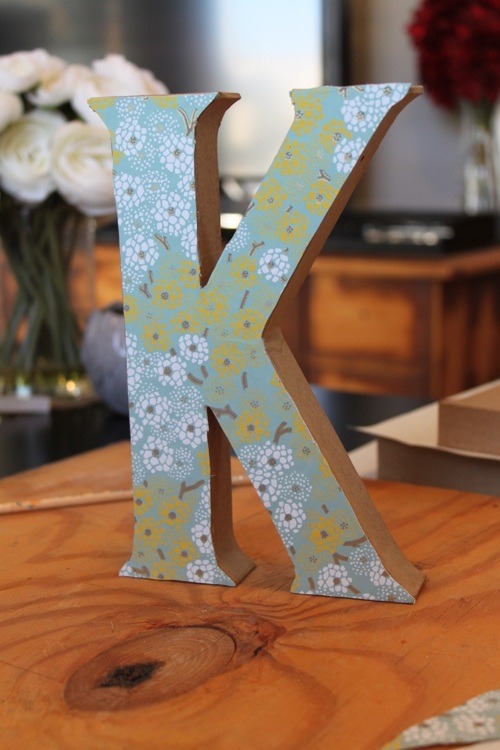
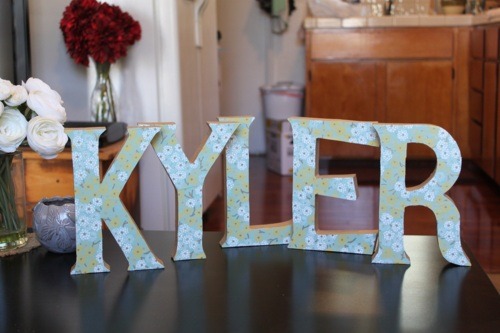
So there you have it - an inexpensive and quick project! The total coast was under $30 dollars and only took about 30 minutes or less to make!
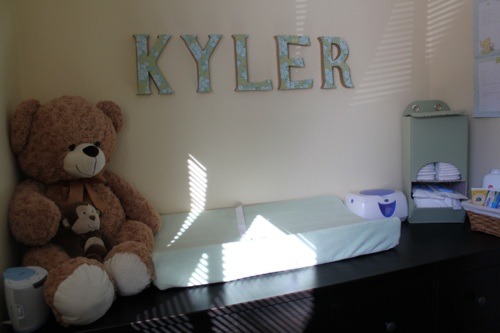
We hung ours on kyler's wall when he was just a little baby ! But now that he is one he has less of a newborn looking room which you can see HERE
That is so cute and so creative! Thanks for sharing and that is awesome you are doing so much in the side! Super mom!!
ReplyDeletehttp://brandonandshelby.blogspot.com/
Aww you are so sweet ! Thank you dear ! =)
DeleteHow CUTE are these:) Thanks for sharing sweet girl! love Katie
ReplyDeleteOf course ! xo
Delete